Fuse beads
A good bead pattern from a photo
Which photos make good bead pictures, how to crop them and how to choose the size and colours.
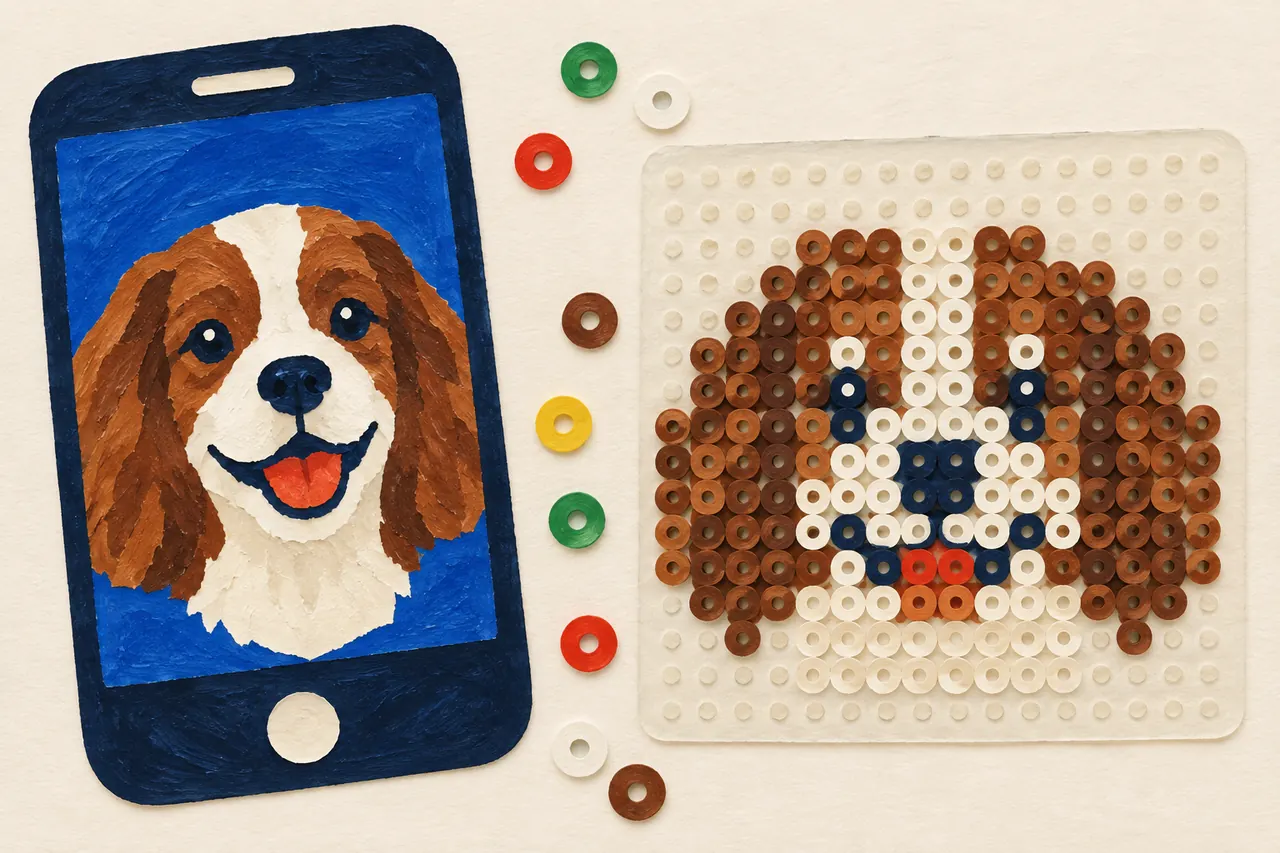
When a photo becomes a bead pattern, it is shrunk to a grid in which every square is one bead. Each square takes the bead colour closest to the photo's colour in that spot. A board holds only a few dozen beads each way, so most of the photo's detail is lost. The photo that copes best with being simplified makes the best pattern.
When you make a bead pattern with us, the photo never leaves your phone or computer: the pattern is worked out in the browser, and nothing of the photo is sent to us or to anyone else.
Choose a photo that copes with being simplified
- One subject, close up. A face, an animal or a toy that fills almost the whole picture works better than a whole family on a beach.
- A plain background in a different colour from the subject, such as a wall or the sky. Then the subject stands out, and the background can be left empty.
- Even light, ideally daylight indoors or in the shade. Light from behind and hard shadows turn into dark patches in the pattern.
- Large areas and clear colours. Small details, writing and stripes or checks become mere noise with so few beads.
Crop close
Cut away everything you do not need, so that the subject fills the square. Every bead spent on the background is one bead fewer for what you want to show.
Choose the beads, the size and the colours
Beside the pattern you can choose these:
- Beads. Choose the beads you have: Hama Midi, Nabbi Standard and Nabbi BioBeads. Then the colours and the size of the board match, and the list of beads counts in that kind's bags. Where the kind has more than one board, we ask once which one you have, by the maker's model number. A clear board gets the pattern at full size, to lay under the board. A white board gets an enlarged pattern, to lay beside it. Which board is which?
- Size. From a small part of one board up to four boards. More boards mean more beads and more detail, but also more to lay. A face often needs several boards; a simple shape manages with one.
- Colours. We start on Auto, which takes as few colours as the picture needs: a logo or a cartoon keeps its own few, a photo gets more, and a small detail such as an eye stays. To choose yourself, the steps go from all of them down to very few. Fewer colours are often calmer, clearer and easier to lay. Go down one step at a time until the picture starts to lose what matters, then go back one.
- My colours. Say which colours you have at home, and only those are used. Your browser remembers them, for each kind of beads separately.
- Tidy. A lone bead whose neighbours all have another colour takes theirs, so nobody has to hunt for a single bead.
- Background. The colour along the photo's edges can be left empty, so you lay only the subject.
Try and compare
Change one thing at a time, and look at the pattern from a little way off or with your eyes half shut. Beads look best from a distance, and what you see then is roughly what you will get.
When you are happy: print at the right size, and then make your bead picture.
Next step
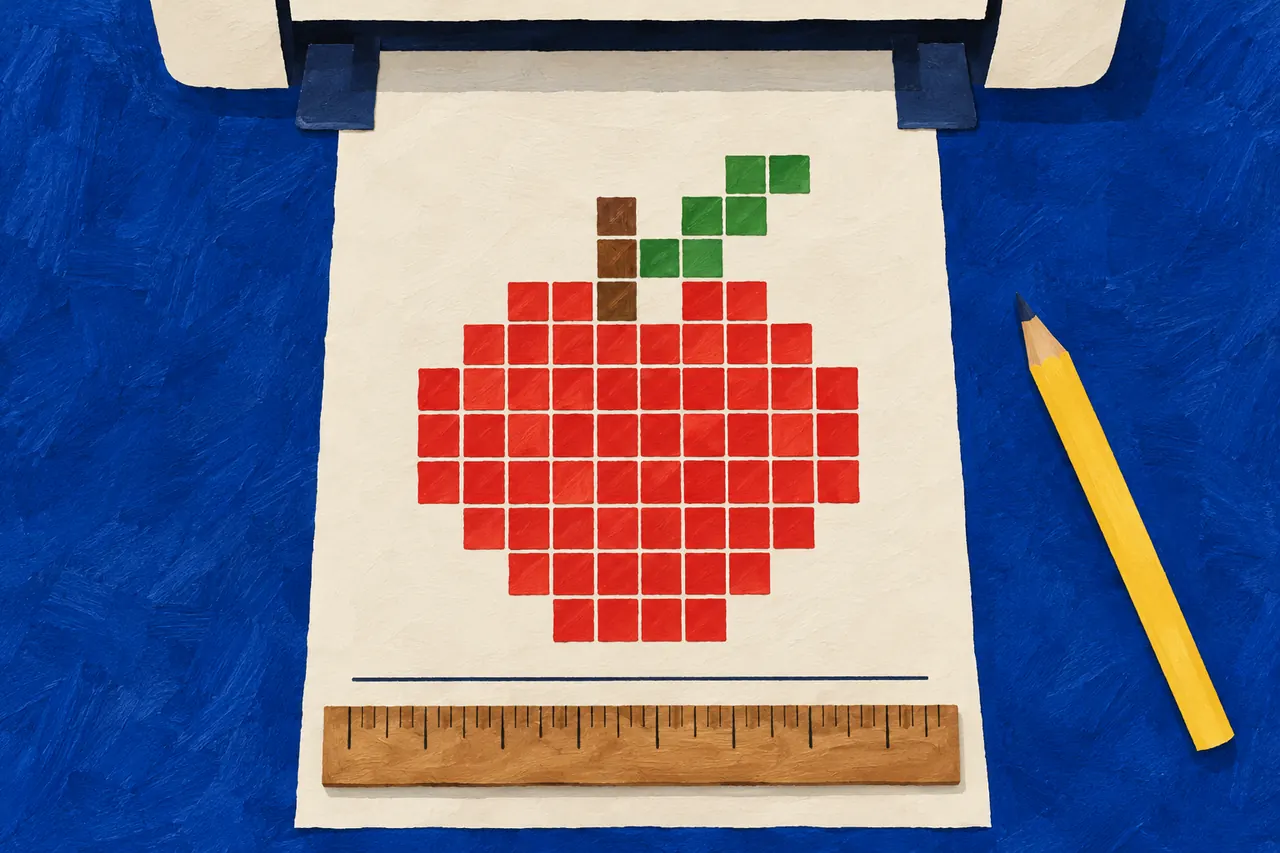
Print at the right size
A bead pattern is printed on A4 at 100 %, not shrunk. How to choose the right settings in your browser, and how to measure the check lines.
More guides
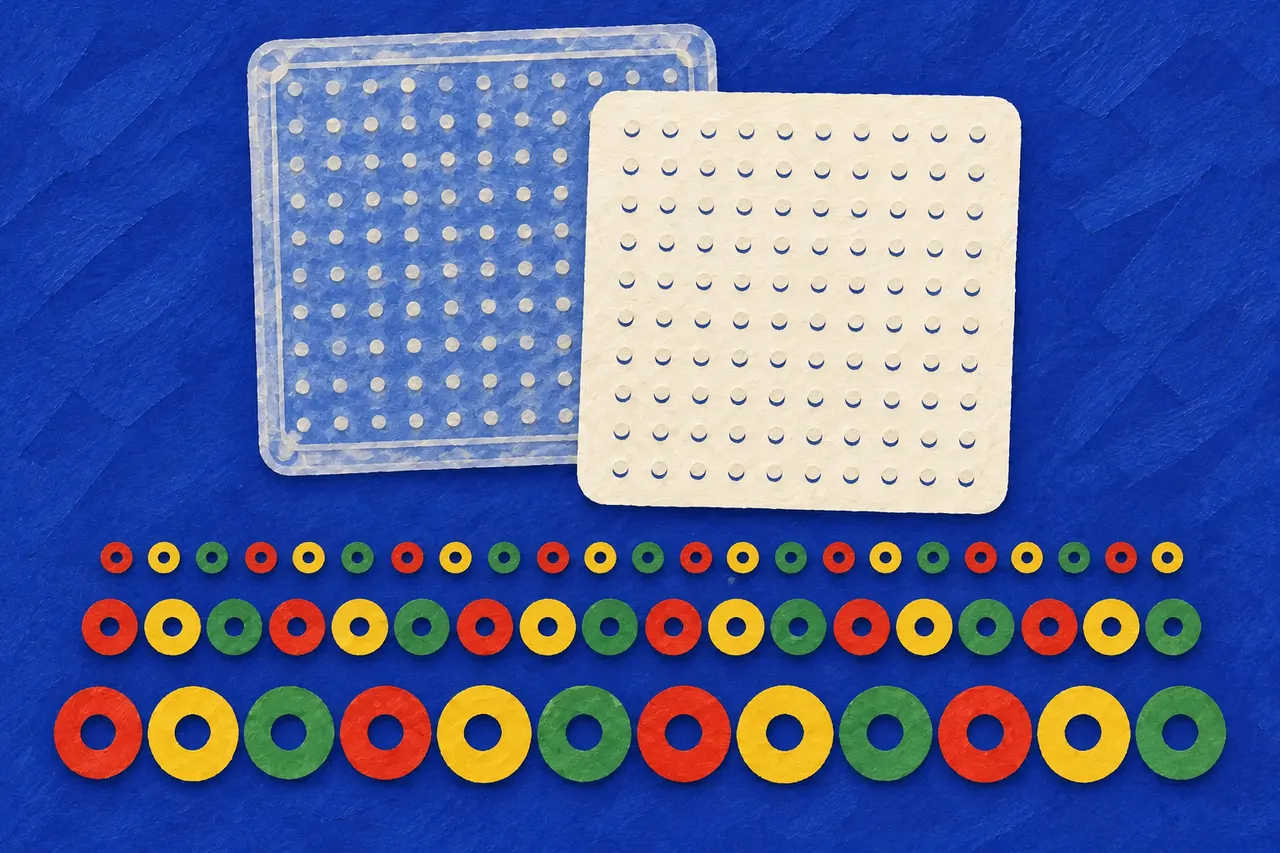
Which beads and pegboards?
Mini, Midi or Maxi, a clear or a white pegboard, and which kinds go together: how to choose beads and a pegboard.
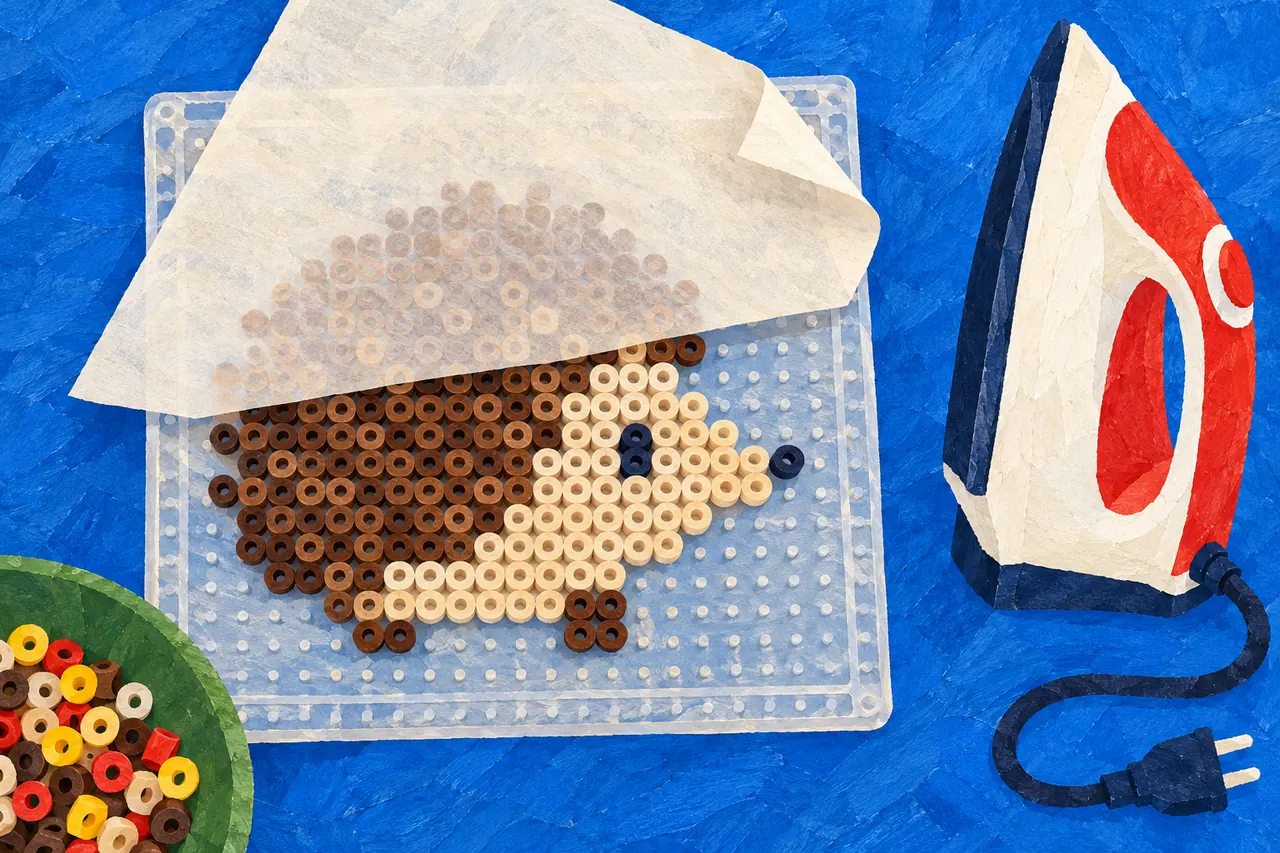
How to make a fuse-bead picture
From pattern to finished picture: lay the beads, let an adult iron them through ironing paper, and let them cool flat.
When the ironing goes wrong
Beads that do not hold together, holes that have closed, a piece that has warped: what the makers themselves advise.