Painting and colouring
How to paint by number
Which photos work, how many colours and how big the fields for which age, and how to colour field by field.
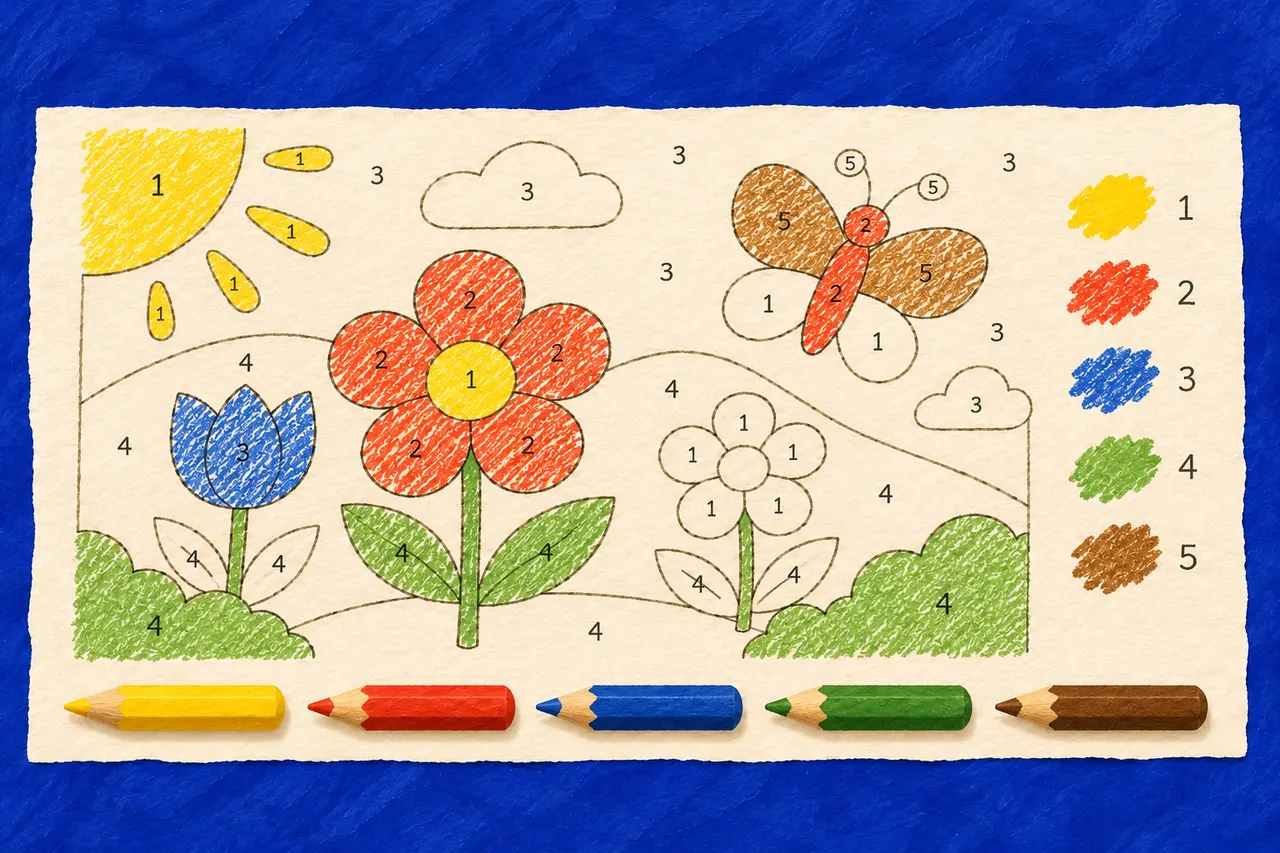
Paint by number is a colouring page where every field has a number, and a list says which colour each number is. Field by field the picture appears, and that is the fun of it. Here is how to make one from a photo of your own, and how to colour it.
In short
- Choose a photo with big areas and one clear thing in the middle.
- Fewer colours and bigger fields for the youngest, more and smaller for older children.
- Colour one colour at a time, from the big fields to the small ones.
- White is the paper: leave those fields as they are.
Which photos work
A paint by number has few colours, so the photo should have few, big areas. A pet up close, a cuddly toy, a house against the sky or a boat on the water works well. A photo of many small things, a crowd or a busy room becomes lots of small fields that are hard to colour.
Light matters. A face in shadow on one side becomes two colours, a light one and a dark one. That can look good, but a photo in even light, outdoors on a cloudy day or by a window, is calmer. The photo stays in your browser, so a photo of a child is fine.
After the photo comes Crop: drag the frame to where you want it and make it smaller with the slider. For a portrait, take just the face. A face that fills the paper keeps its eyes and mouth; a face in a whole room is too small for that. Choose too whether the paper stands or lies, so the picture fills the whole sheet.
How many colours and how big the fields
The colours come from an ordinary box of coloured pencils or felt pens: yellow, orange, red, dark red, pink, purple, dark blue, light blue, turquoise, light green, dark green, peach, ochre, light brown, brown, grey, black and white. The page picks the ones that suit the photo best, as many as you ask for: a few (6), some (9), many (12) or all (18).
- Big fields suit the youngest, with felt pens. Every field holds a circle of at least 6 millimetres.
- Medium suits coloured pencils, from about six.
- Small fields give more to colour and more of the photo, for the patient.
Try a few settings. The picture is drawn again at once, and the answer shows it finished.
How to colour it
- Get out the pencils in the list under the picture and put them in number order.
- Every pencil always has the same number, on every page from here: yellow is 1, black 17 and white 18. Write the number on the pencil once, on a bit of tape, and you will not have to look it up next time.
- Take one colour at a time and colour every field with its number: they are easier to find.
- Start with the big fields. The small ones are easier once the hand has warmed up.
- Colour lightly near the lines so they still show. The numbers vanish under the colour.
- Leave the white fields as they are.
Going over a line is no mistake. It is a colouring page, not a test, and it will look good anyway.
Printing
The picture fits on A4 with the colour list under it. The answer can be small in the corner, on a sheet of its own or left out, if the picture should be a surprise. More about paper and printers in Print a colouring page.
Next step
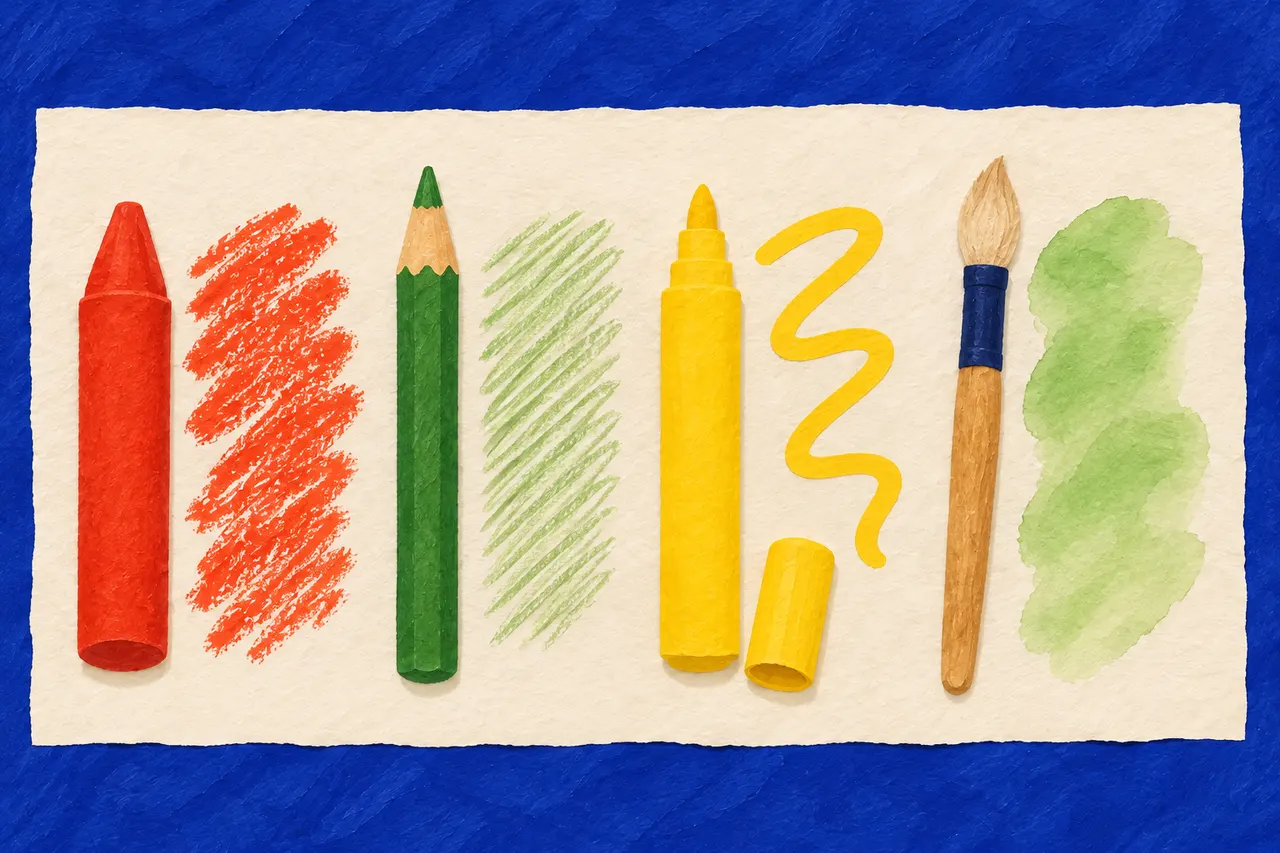
Wax crayons, colour pencils or felt tips?
What suits which age, which paper takes what, and what to do when the colour goes through.
More guides
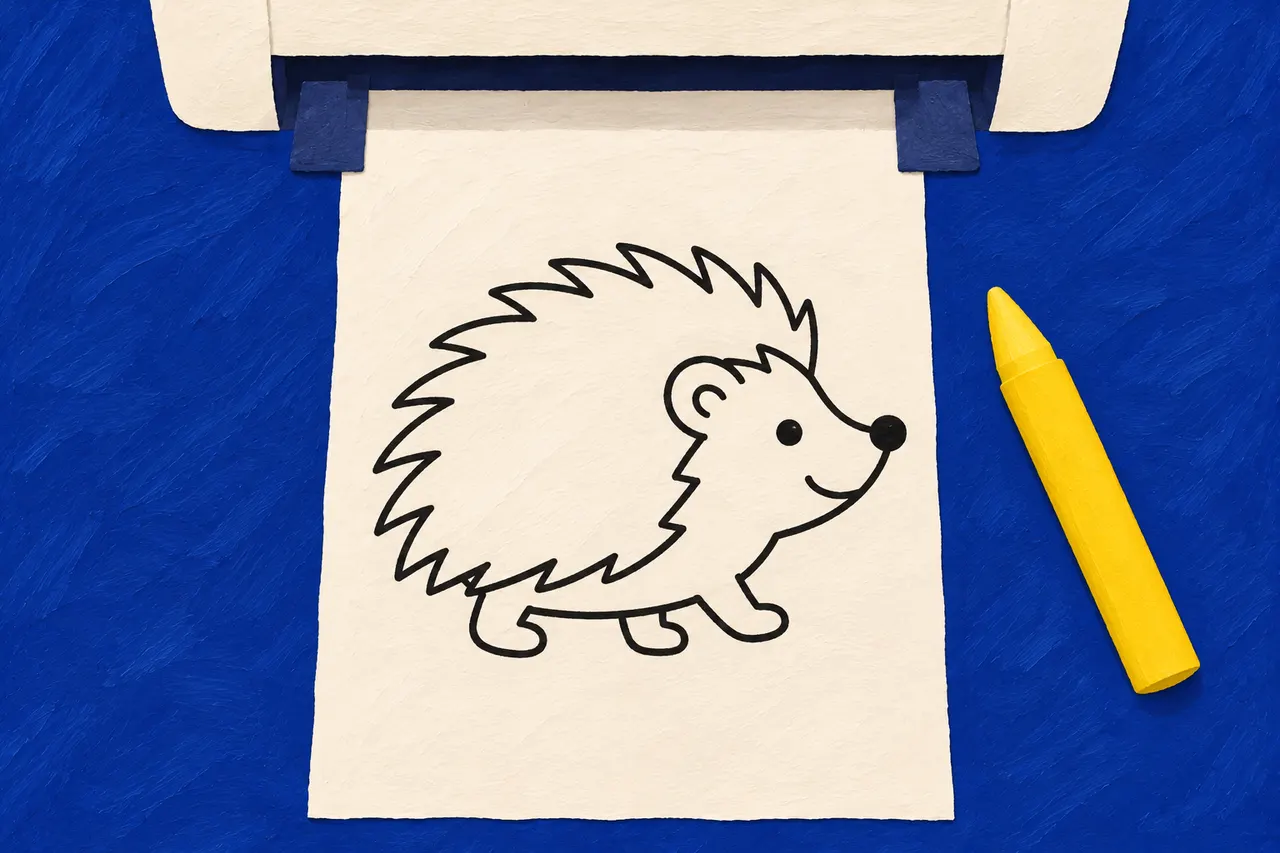
Print a colouring page
From your own picture, the gallery or a private link: the picture alone on A4, which paper suits what, and what to do when the lines come out faint.
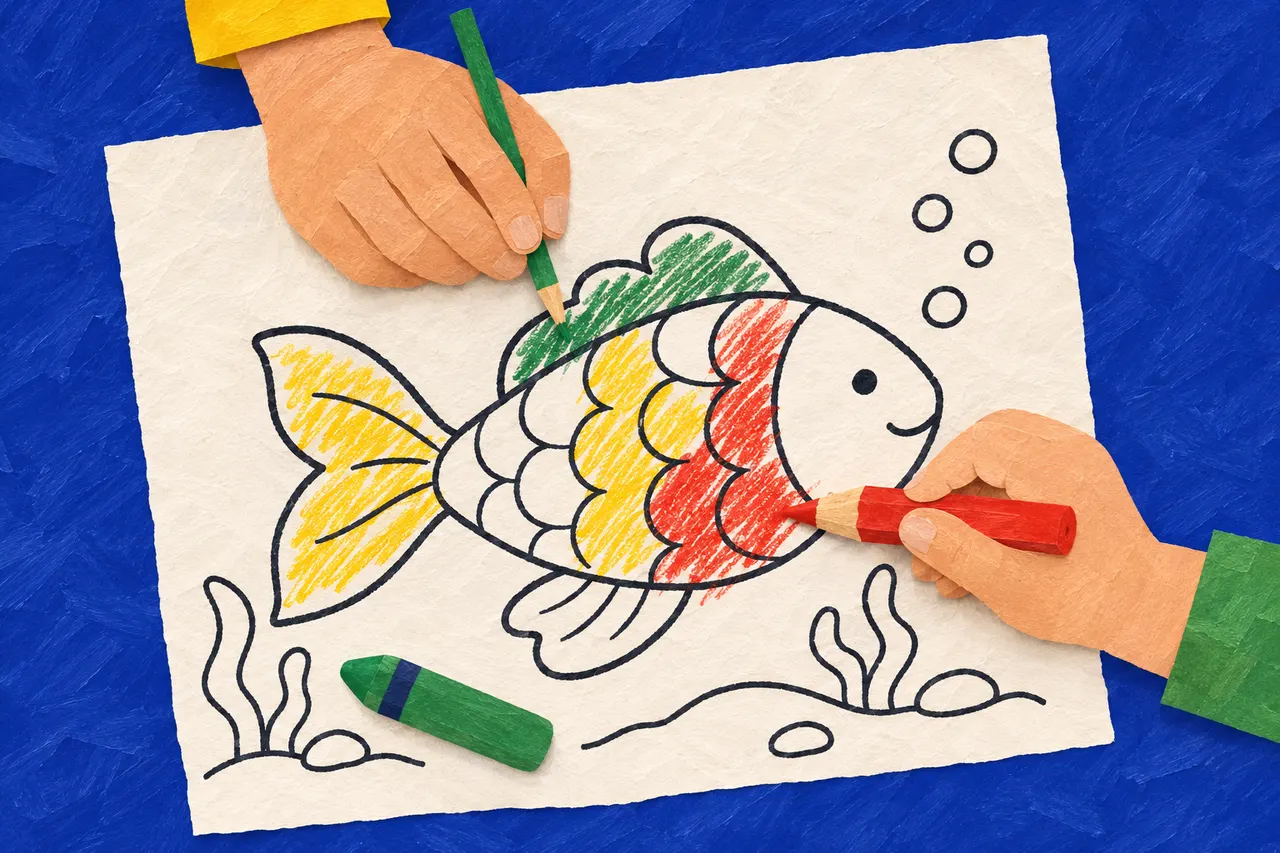
Colouring at every age
From marks made with the whole arm to shading: what helps at each stage, and why the lines are not a test.