Fuse beads
How to make a fuse-bead picture
From pattern to finished picture: lay the beads, let an adult iron them through ironing paper, and let them cool flat.
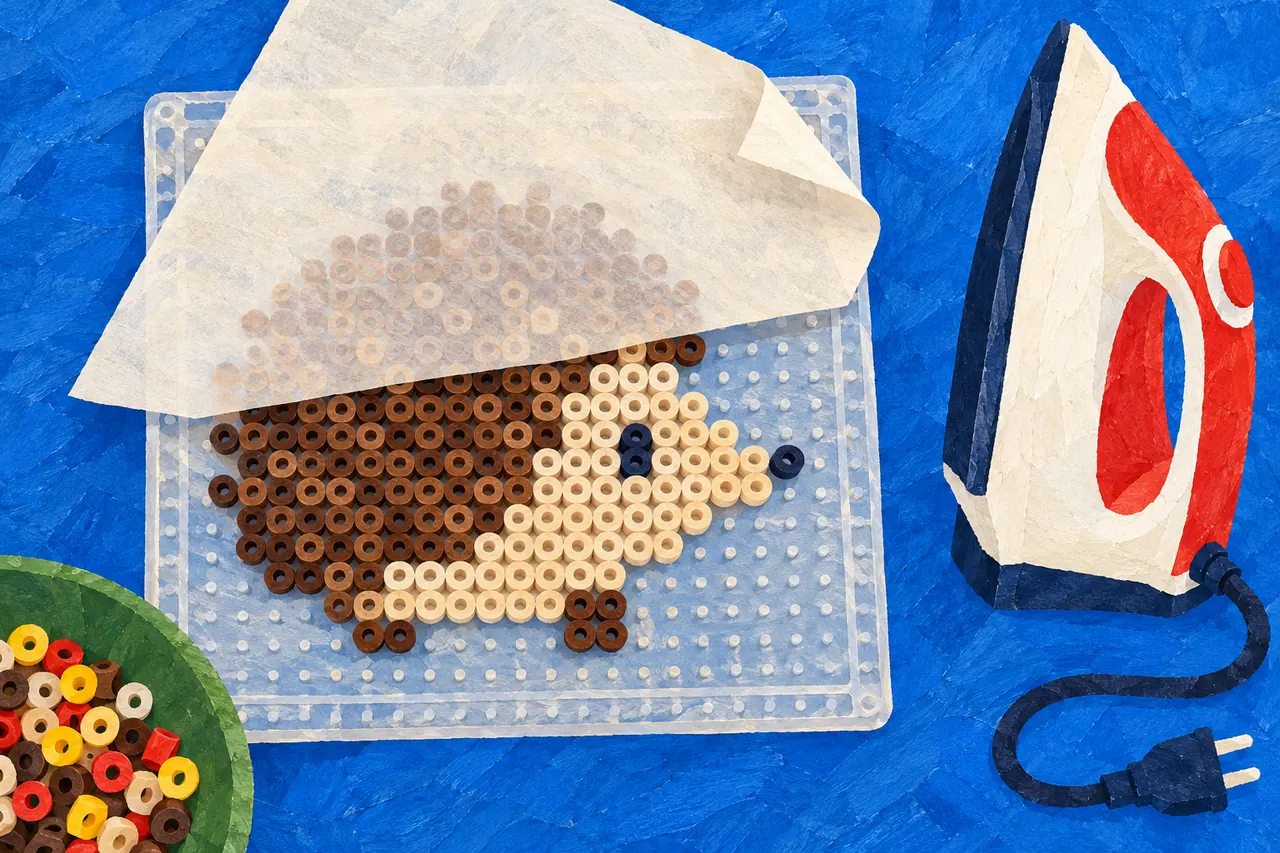
What you need
- Beads and a pegboard of the same kind, such as Hama Midi, whose beads are 5 mm. The board may be white or clear.
- The pattern, printed at the right size.
- Ironing paper and an iron.
- A bowl for each colour if you have them, and tweezers if the beads feel fiddly.
How to do it
Lay out the pattern
If you have a clear pegboard, the pattern can go under it, so that each square sits under a peg. Then it must be printed at 100 %: measure the check line before you start.
If you have a white pegboard, lay the pattern beside it and follow it row by row.
Sort the beads
The list on the pattern shows each colour with its number, its symbol and how many beads it needs. Put each colour in a bowl of its own, and the right one is quicker to find.
Lay the beads
Put a bead on every peg whose square on the pattern has a colour. Start in a corner and do one row at a time, so you do not lose your place. The symbol in a square tells you its colour, even when the pattern is printed in black and white. Squares with no colour stay empty.
Every bead needs at least one neighbour, or it will not hold on to the others once they are ironed.
An adult irons
Lay ironing paper on top of the beads. Start at a medium heat, two dots on the iron, with the steam off. Hama's own instructions say cotton beside two dots, but two dots is the wool setting. Try it on a few beads first.
Iron with light pressure in small circles, and never hold the iron still. Do not touch the board with the iron: it damages the pegs, and a hot board warps. It is done when the colour of the beads suddenly shows clearly through the paper. If the edges do not fuse, try a little hotter; if the holes close up, try cooler.
Let it cool flat
Take the ironing paper off carefully and let the beads cool on the board for a couple of minutes. If needed, iron once more with the paper. Then lift the beads off and put them under a book until they are completely cool, so they stay flat.
Both the pegboard and the ironing paper can be used again.
Different beads, different ironing
Follow the instructions for the beads you have:
- Hama irons the top, and once more if needed.
- Perler recommends ironing both sides.
- Nabbi irons, lifts the beads off the board and irons the same side again. Nabbi's BioBeads and Nabbi's ordinary beads are not ironed together.
The side facing up while you lay the beads is the side the iron flattens, and the back comes out mirrored. If the pattern has a name or letters, they read the right way from the side you laid.
A pattern on several boards
A large pattern is split over several boards, and each board gets a sheet of its own with its number. Make one board at a time, from the sheet with its number.
A pattern of your own
Would you like to make a pattern from a photo of your own? Read a good bead pattern from a photo.
More guides
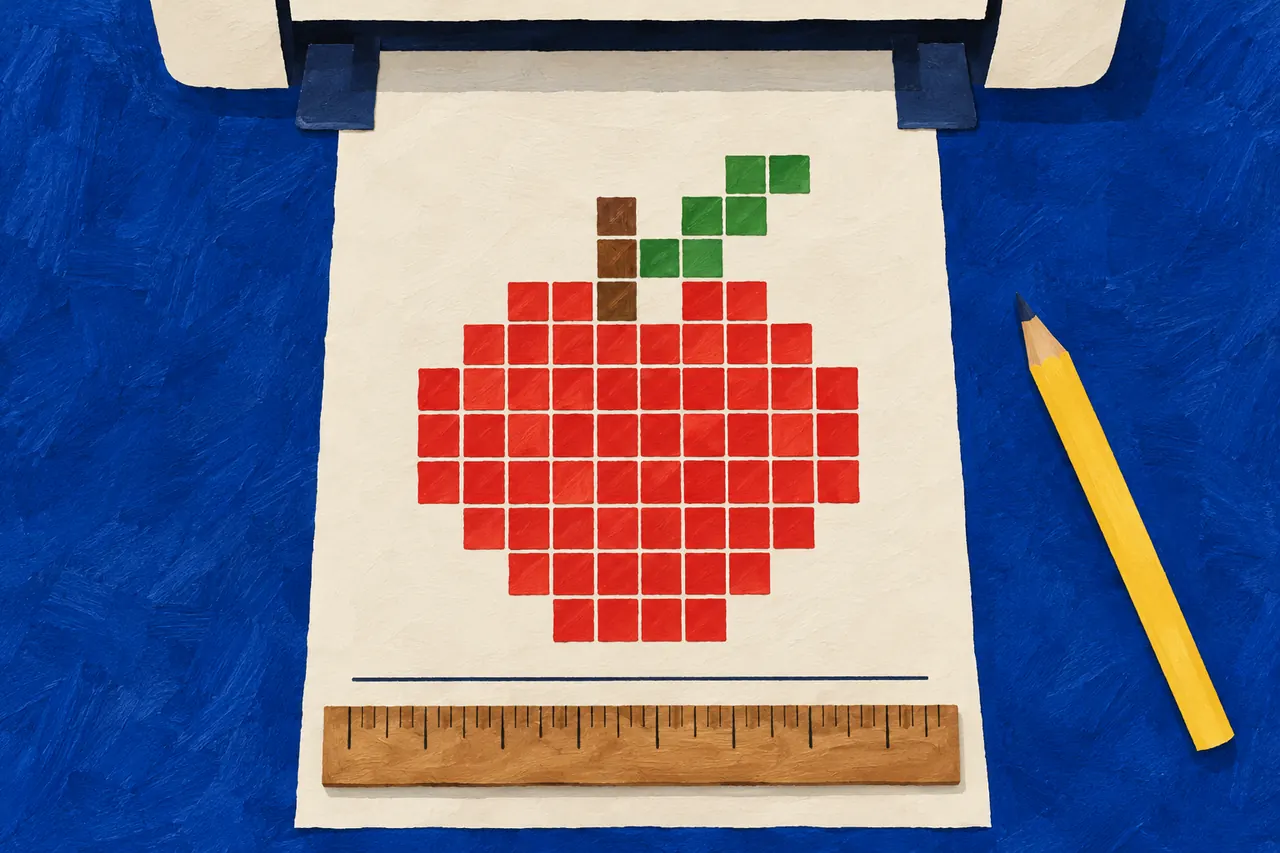
Print at the right size
A bead pattern is printed on A4 at 100 %, not shrunk. How to choose the right settings in your browser, and how to measure the check lines.
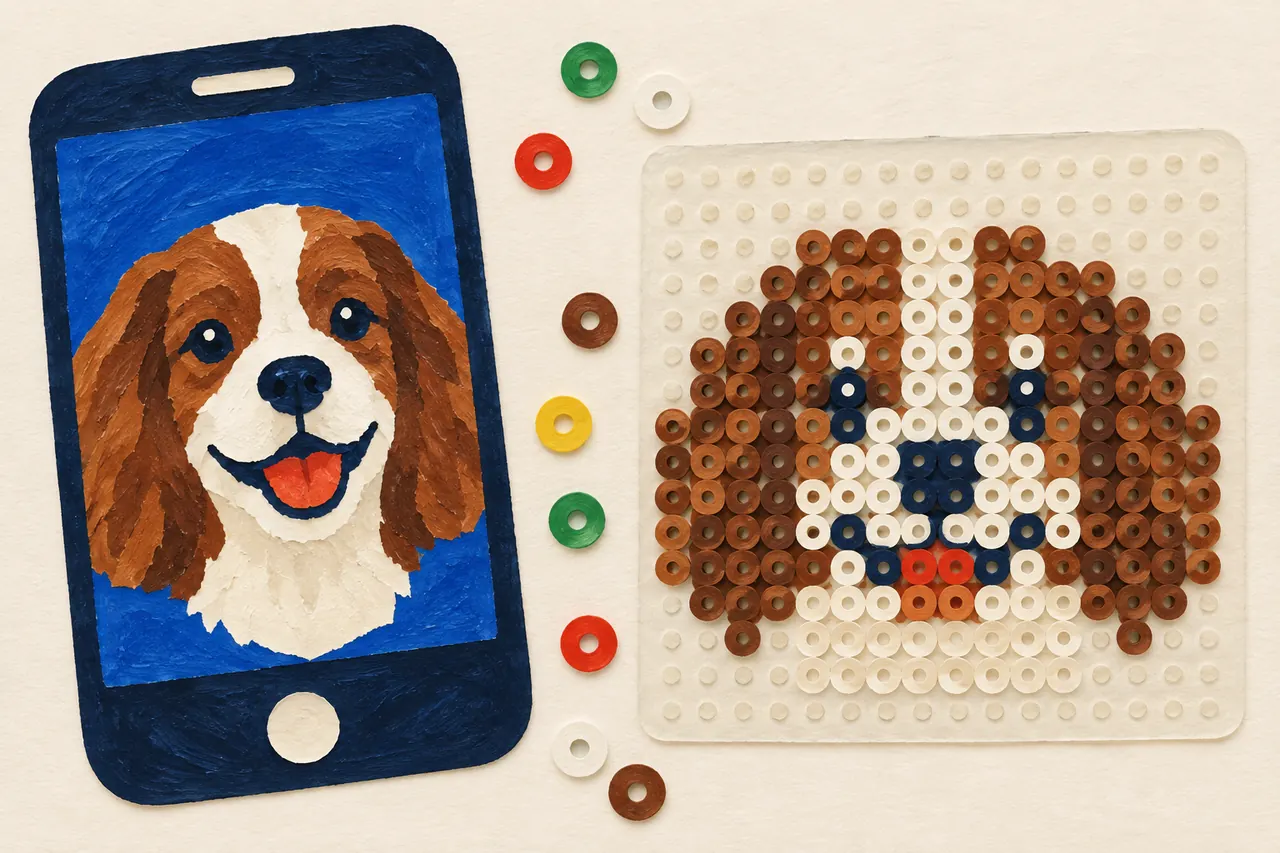
A good bead pattern from a photo
Which photos make good bead pictures, how to crop them and how to choose the size and colours.